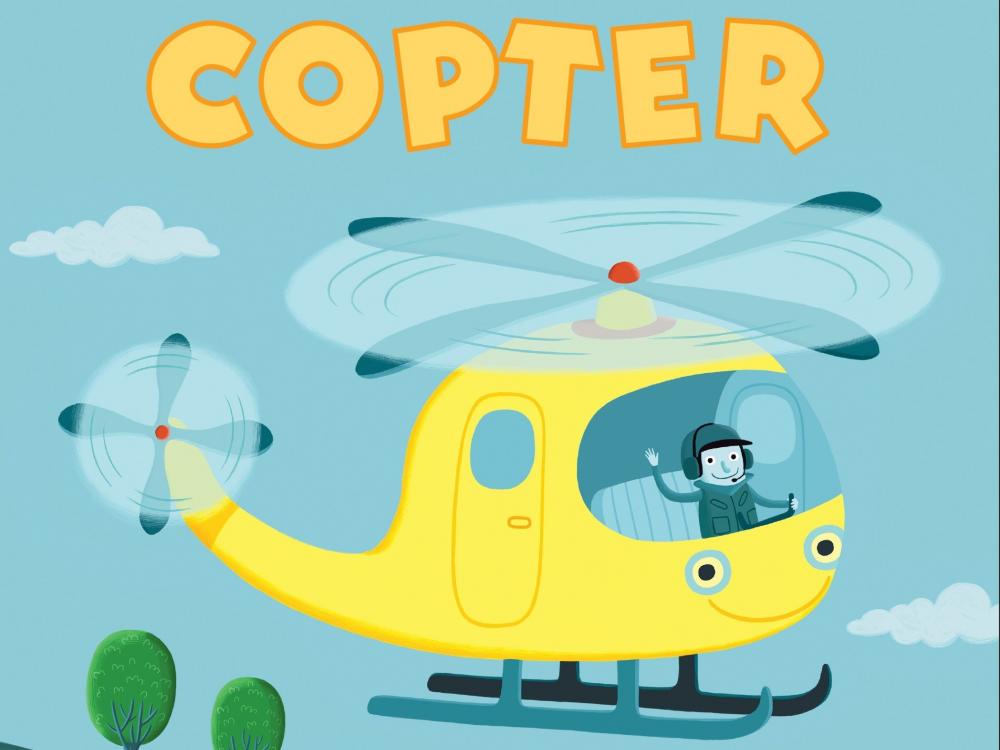
Yellow Copter
by Kersten Hamilton, illustrated by Valeria Petrone
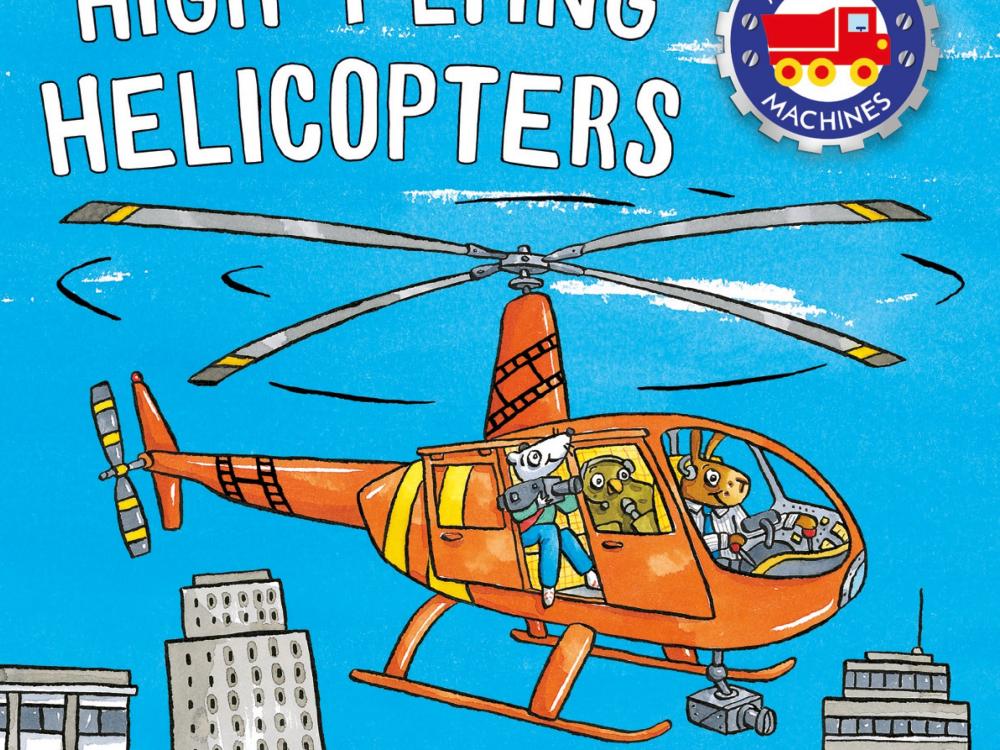
High-Flying Helicopters
by Tony Mitton, illustrated by Ant Parker

Violet the Pilot
by Steve Breen


This month is the 100th anniversary of the first successful flight of the Autogiro, designed and built by Juan De La Cierva, an engineer from Spain.
The Autogiro is important in aviation history because de la Cierva solved engineering problems that paved the way for the design of other aircraft with rotating wings, like the helicopter.
Explore the activities below to learn more about the Autogiro and other rotorcraft!
Easy flyer! Join museum educator Ann Caspari as she demonstrates how to fold paper into a spinning whirligig.
Craft Time is made possible through the generous support of the Conrad N. Hilton Foundation.

Experiment with the science of force and motion, air flow and rotating wings by making your own Whirligig Flyer!
What makes my Whirligig fly?
When you let go of the Wind Flyer, the force of gravity pulls it down. It doesn't drop straight down because air pushes up against the "rabbit ears" or blades. Since there are two blades, the air is pressing on the blades in opposite directions, causing it to spin!
Add a paper clip or pieces of tape to the end of your flyer. What happens when you add more weight?
How is this connected to rotorcraft?
Check these books out at your school or library to explore the topic of rotorcraft and the different uses of these aircraft!
by Kersten Hamilton, illustrated by Valeria Petrone
by Tony Mitton, illustrated by Ant Parker
by Steve Breen
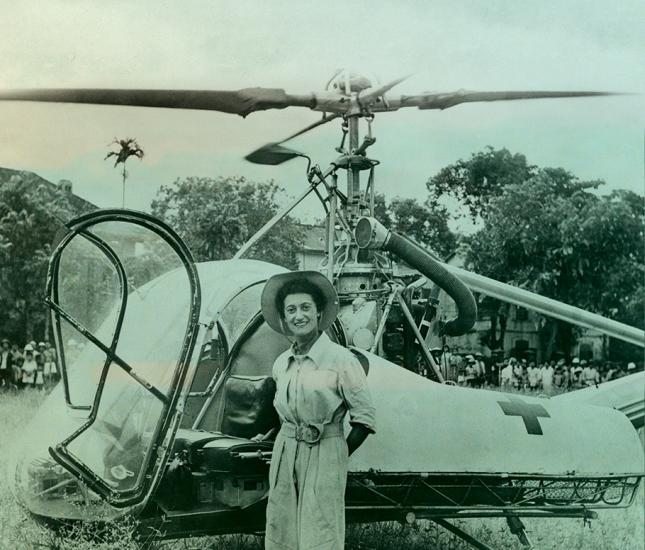
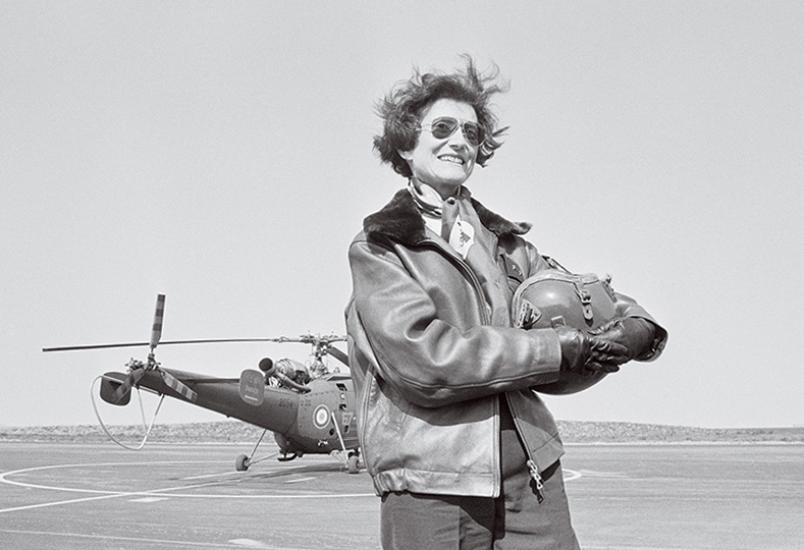
Meet two women helicopter pilots who have made an impact with their work in helping people in need.
Valérie André was a French doctor for the Air Force who learned how to fly a helicopter in the 1950s so she could help wounded soldiers in war zones.
Because of her skills, expertise and commitment to her patients, she became the first women to fly a helicopter into a combat zone, and the first neurosurgeon-pilot.
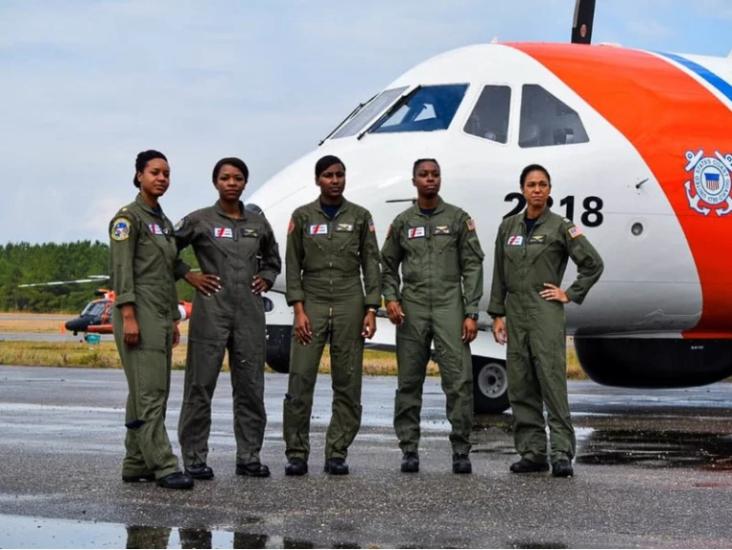
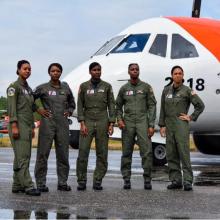
Lieutenant Commander Holmes became the first woman African American helicopter pilot for the Coast Guard in 2010.
Pictured is this photo are Lt. Cmdr. La'Shanda Holmes (second from the left) with fellow pilots Cmdr. Jeanine Menze , Lt. Angel Hughes, Lt. Chanel Lee and Lt. Ronaqua Russell, in 2019. These pilots are role models and an inspiration for girls of color who want to fly.


Modified from a craft from The Craft Train
The book Yellow Copter features a bright yellow rescue helicopter. Pilot La'Shaundra Holmes' Coast Guard helicopter is a bright red-orange! Now it's your turn to make your own model rescue helicopter.
Materials Needed:
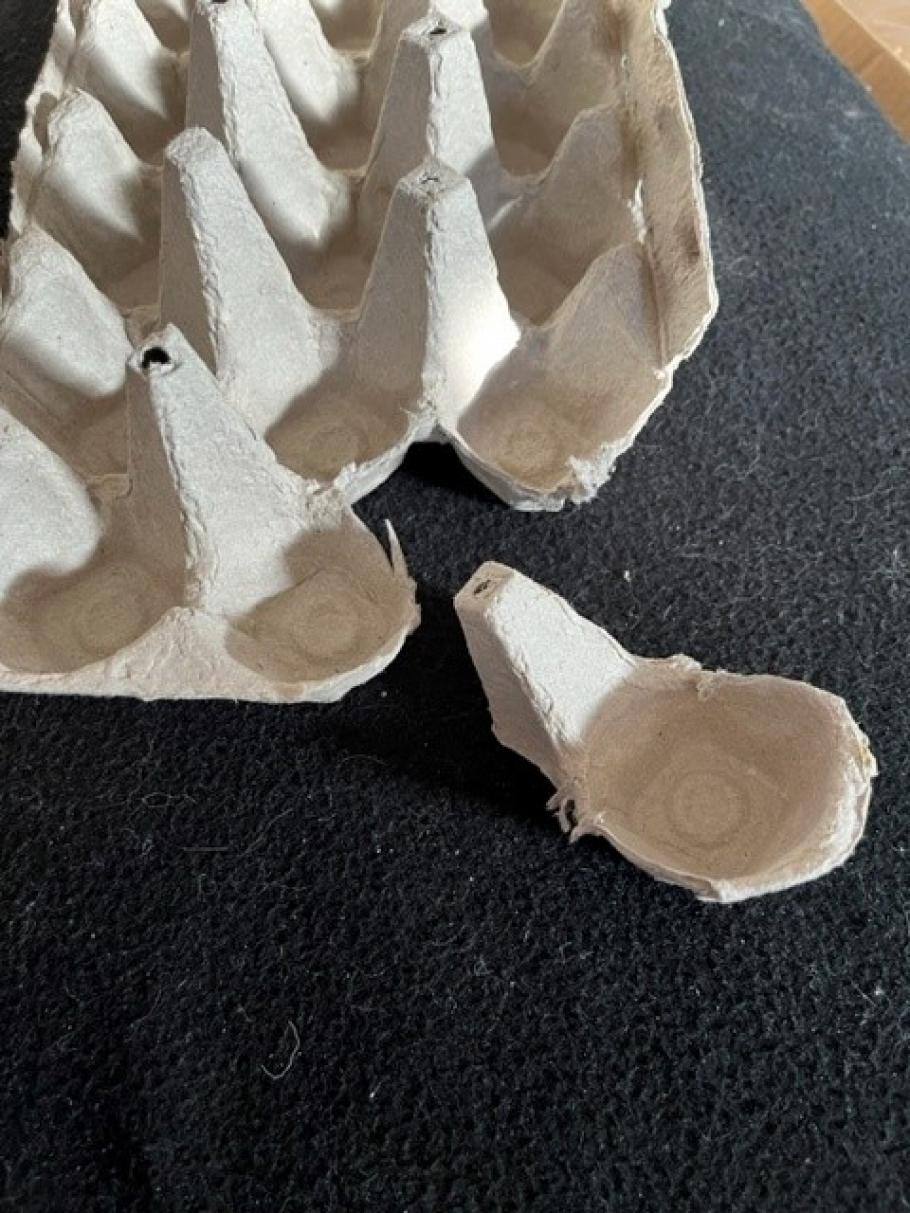
Step 1: Using sharp scissors, cut out one egg cup and one attached long piece from the larger egg carton.
Step 2: Bend the long section around and secure it to the top of the cup to create the tail and cab of the helicopter.
Use white glue to secure the two sections together.
You can use a piece of masking tape to hold it in place while the glue dries.
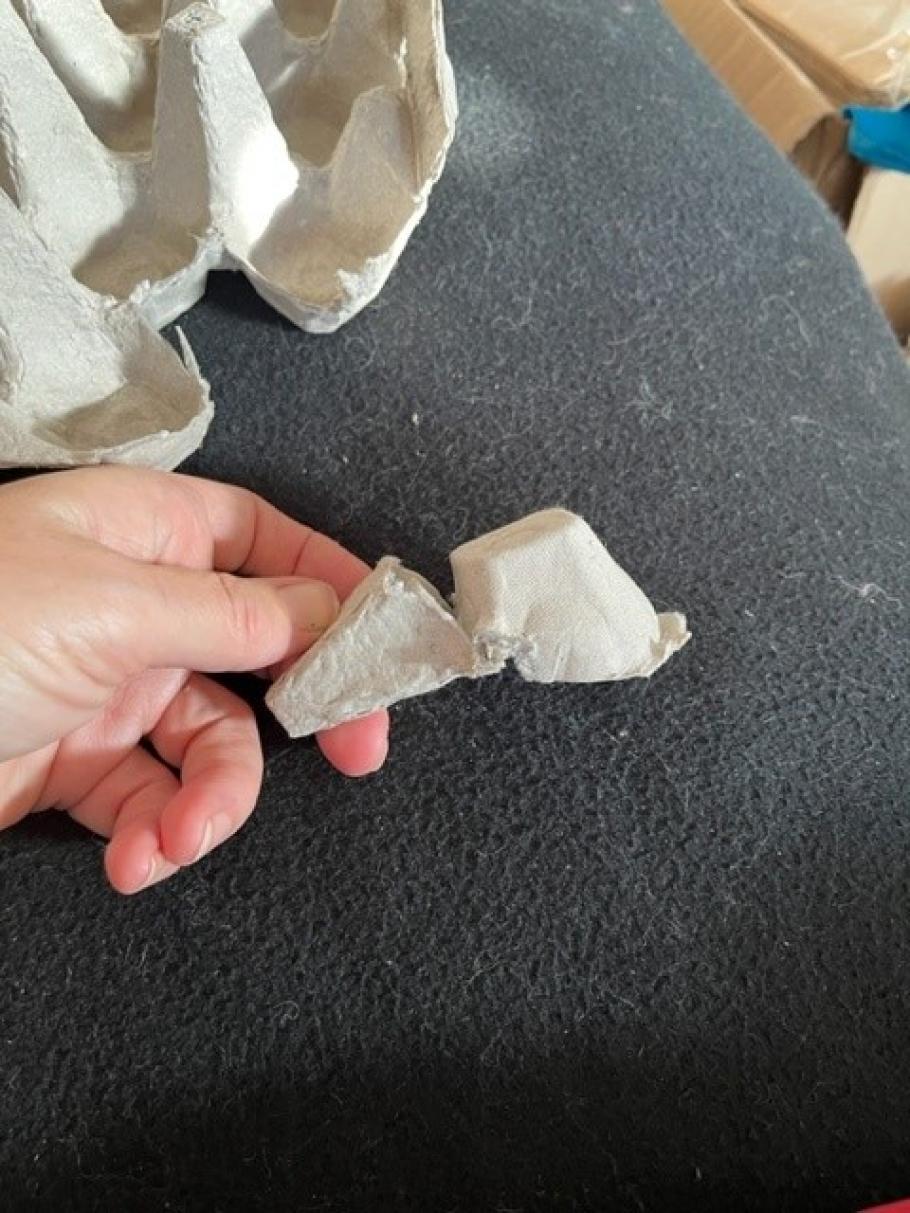
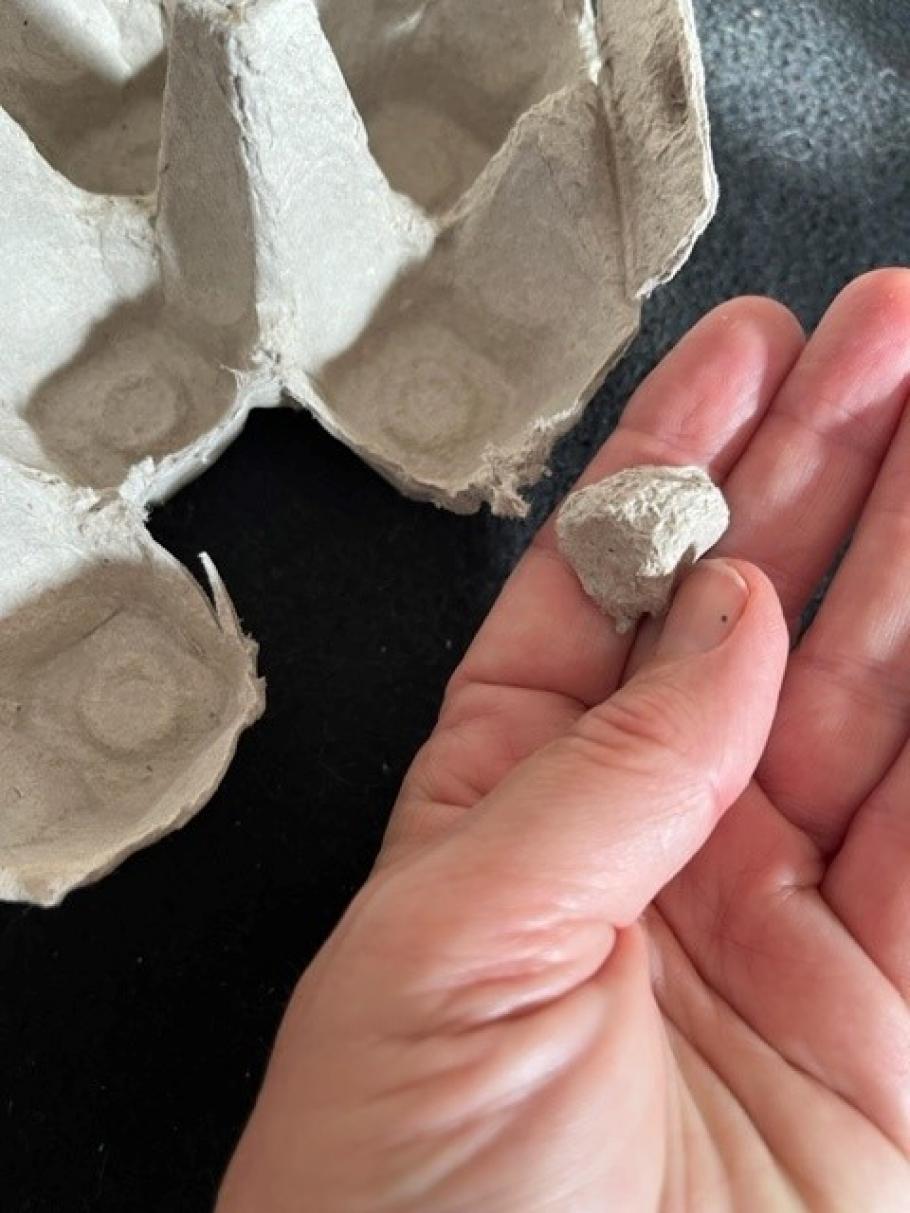
Step 3: Cut two small nubs from the edges of the egg carton to hold the rotors.
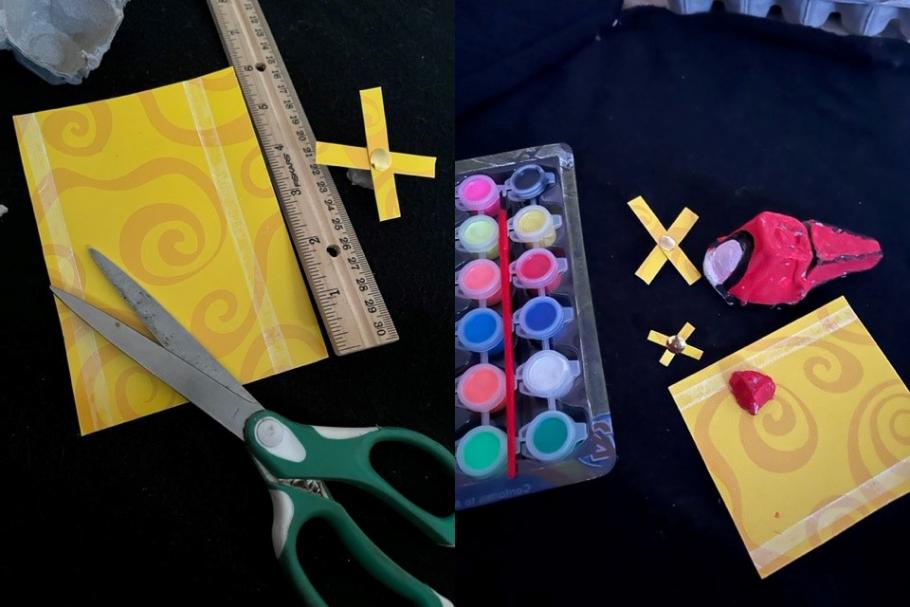
Step 4: Paint all of the egg carton piece using poster paint. You can paint a large white windshield on the front of the helicopter cab. Set this aside to dry.
Step 5: Create the rotors. Cut 2 small strips of card (about ¼ inch wide and 2 inches long). These will be the top rotors.
Use a push pin to poke a hole in the egg carton nub and in the middle of the two strips. Place the strips on top of the nub and insert the brad through all three holes. Turn the nub over and secure the brad inside.
You’ve just made your top rotor assembly.
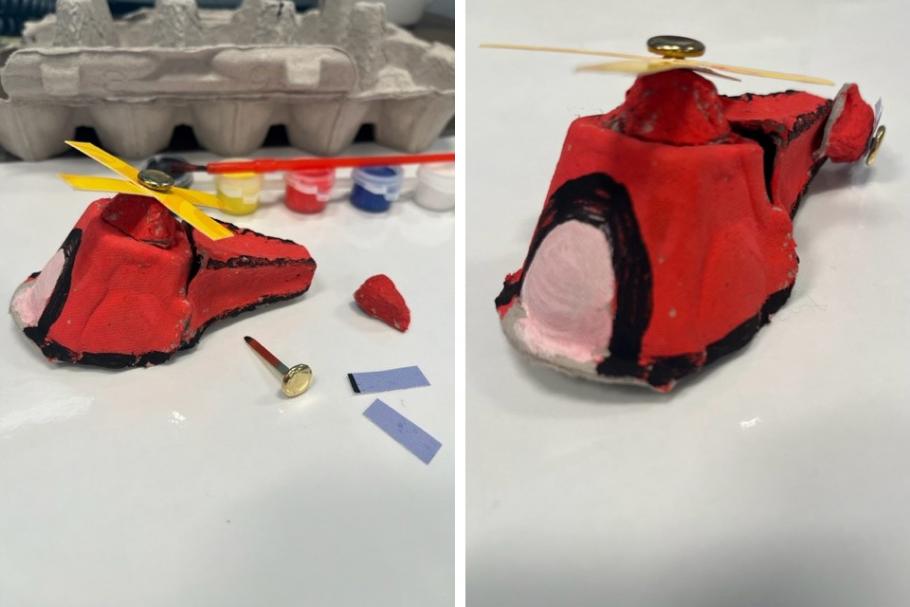
Step 6: Glue the rotor assembly onto the top of the helicopter cab.
Step 7: Repeat these instructions for the tail rotor using 1 inch strips. Glue the tail rotor to one side of the tail.
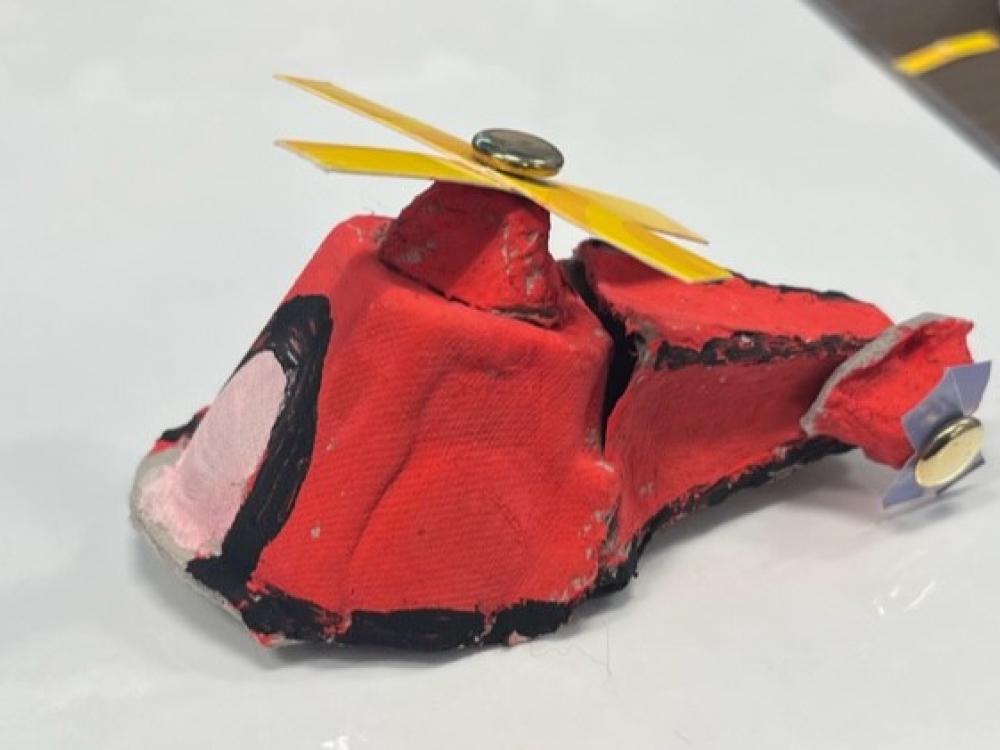
Design Challenge
To land safely, helicopters need landing gear. They can be wheels, skids (rails) or even floats.
Take a look at the images below for inspiration and create landing gear for your helicopter using materials you have in your home, like toothpicks, chopsticks or pipe cleaners.
Once your toy helicopter has its landing gear, it is complete and ready to go on a rescue mission or other adventure!
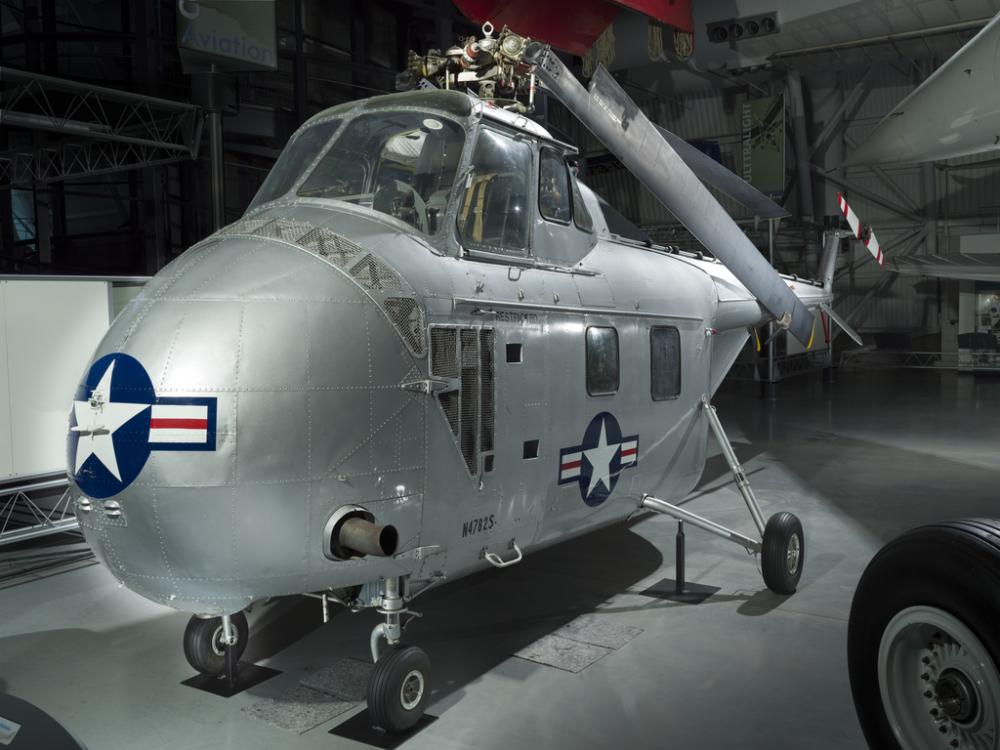
Helicopter with wheels (Sikorsky YH-19)
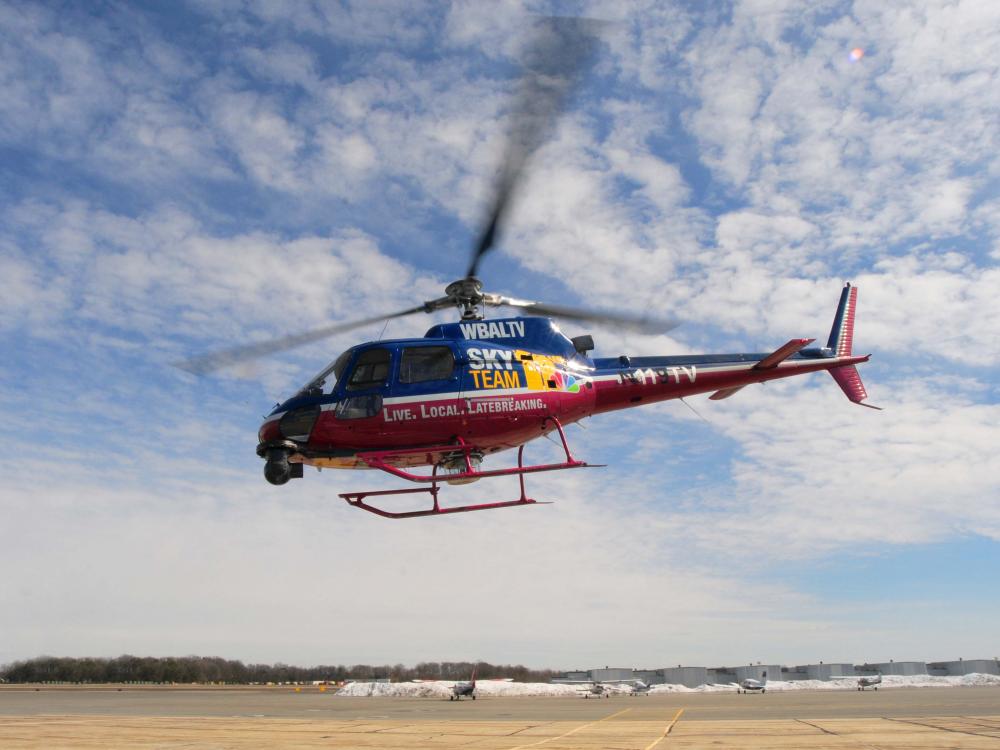
Helicopter with skids (AS350B Helicopter)
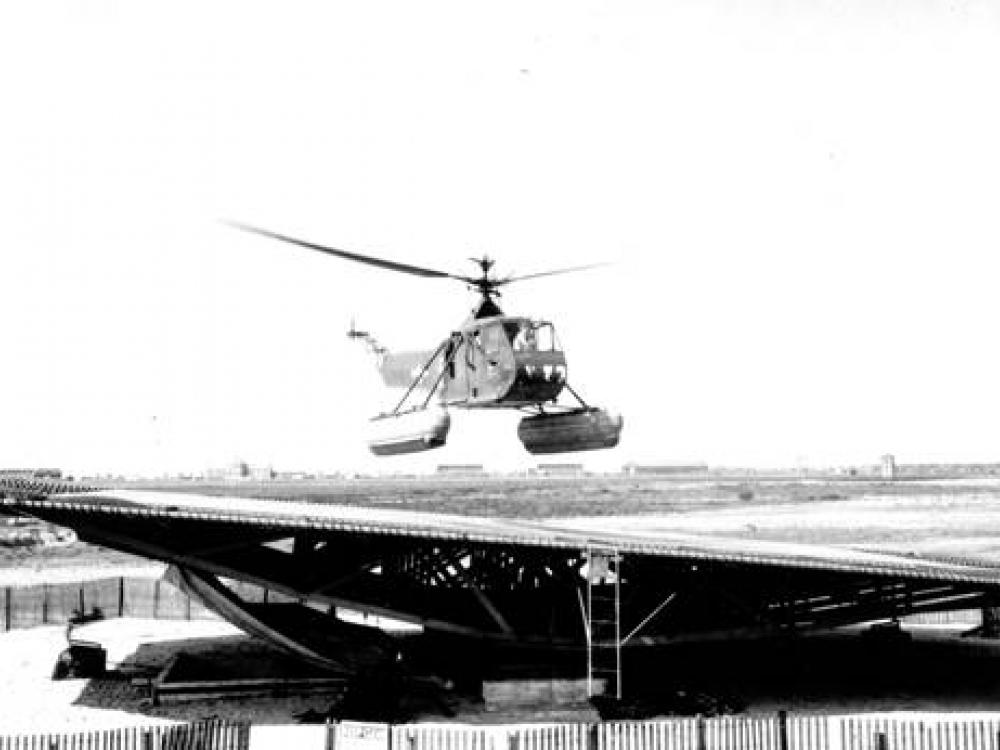
Helicopter with floats (Sikorsky HNS-1 "Hoverfly")
Soar Together at Air and Space is made possible by the generous support of Northrop Grumman.