Check out the activities below to learn more about the airplanes, satellites and people who gather images and photos from high above the Earth and the information is studied to better understand our world.


Jump to a Section: What tools are used to gather information?      What do we see?      Who works to gather information?

Jump to an Activity: Explore Your World from Above      Spot the Difference


Words to Know

Aerial = existing or happening in the air

Reconnaissance = gathering information about a place or situation before taking action

Satellite = an object placed into orbit around the earth, moon, or another planet that is used for communication or collecting information

Radar = a system that uses radio waves to detect the location and speed of objects like planes, ships, and spacecraft 

What tools are used to gather information?

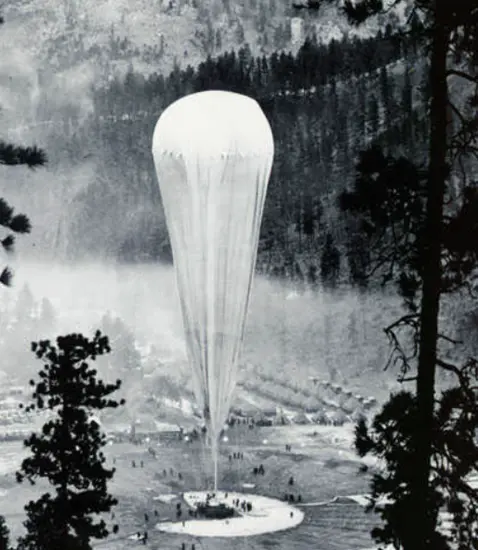
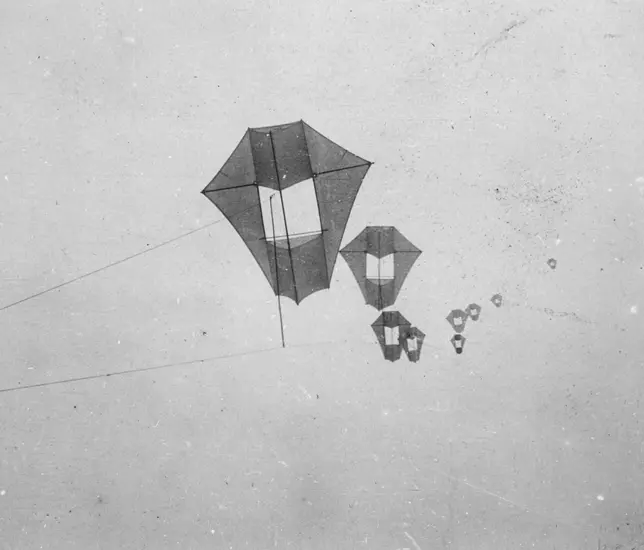
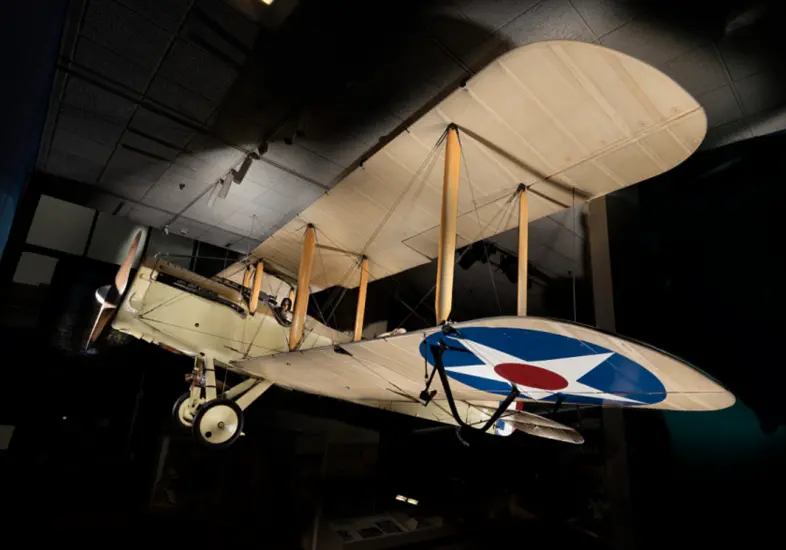
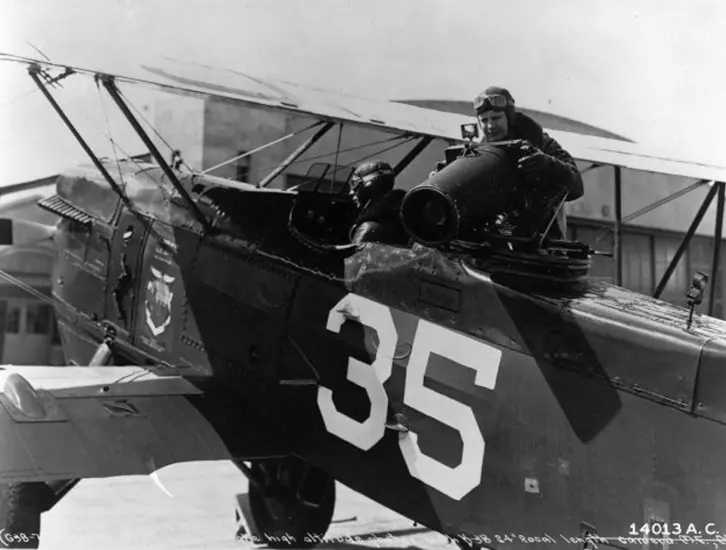
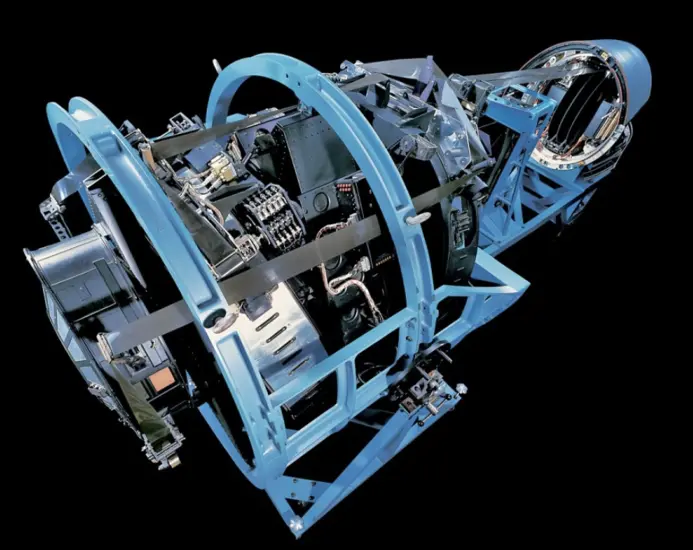
Scroll through this image carousel to learn more about the tools and aircraft used in the past and present.

Think About It 

Different aircraft in the past and today could take photos with or without people accompanying them into the sky. Do you think it would be easy or hard to design an aircraft that didn't have a person controlling it from the inside? Why do you think that?

Compare the shapes and colors of the U-2 and SR-71 planes. Why do you think the U-2 was painted white and blue? What do you think was important about the shape of the SR-71?


What Do We See?

Cameras on aircraft help record images of important places for later study.  In general, people are looking for patterns and change over time.

Activity

Explore Your World From Above

Because of technologies like Google Earth and agencies like NASA and NOAA (the National Oceanic and Atmospheric Administration) that release pictures from space, satellite images are now available to everyone from home– not just spies!

In this activity, explore your own neighborhood through Google Earth to discover what we can learn from satellite images. Use the steps below to analyze the image and the guiding questions to talk to each other about what you see.

Step 1: Decide what place to investigate.

Open Google Earth.

Fly to your location – Decide together what place you want to investigate and type it into the search bar. It could be your home address, where another family member lives, or another place you want to explore.

At first glance, what do you notice? Is there anything that stands out or surprises you?


Step 2: Look for patterns, shapes, and textures.

We can tell a lot about things that are made by people or by nature by looking at patterns, shapes, and textures.

There aren’t many straight lines in nature. Anything that is perfectly straight is probably human-made. Find a perfectly straight line. Where does it lead to? Why do you think people made it?

Are there any shapes that are unique or repeated in a pattern? Places like farms, parks, football fields, or parking lots usually have organized, geometric shapes (circles or rectangles) that stand out. 

Can you see any parts of the natural environment, like a forest, river, or mountain? How are their shapes and textures different from the human made features?

Example: These green rectangles are probably human made, not natural grassy areas, because they are almost the same size and repeated in a row. The light brown borders could be man-made dirt paths created so people can walk around the grass. 


Step 3: Look at colors.

Take a look at all the different colors. What colors stand out to you?

Focus on the human-made things. Can a color help you guess what material a building was made from, or what the building is used for?

Now focus on the natural things. What do the different shades of green represent? If there is a body of water, is it blue? If it’s not blue, what do you think could affect the water’s color?

Find the imagery date on the bottom left of your screen. How could the date the picture was taken affect the colors?

Example: There is a lot of land surrounding the Udvar-Hazy Center that is covered in dark green or brown trees. There is also land that is light green or light brown around many of the roads. These areas are probably covered in dirt or grass. Since the dark green and brown reaches in every direction, these light colored areas probably used to be covered in trees too. Humans probably cut down parts of the forest to make space for roads and buildings.
Step 5: Look at the shadows.

Do any shadows or dark spots surprise you? Sometimes it can be easy to confuse shadows and other dark features like water or burned land. If you’re not sure, try to find where the shadow is coming from and compare it to other shadows and dark areas in the picture.

Example: I want to investigate what’s in the orange circle. What could make this part of the water look darker than the water around it? It looks like a shadow but it isn’t connected to anything else on the water, unlike what’s inside the orange triangle, which has boats with shadows coming out from them. If I look closer, the object in the orange square looks like a helicopter and is the same size as the dark area in the orange circle. That must be the helicopter’s shadow!
Step 6: Thing about what you already know.

One of the most important tools for interpreting a satellite image can be what you already know about the place. It can help you get oriented if you get lost – is there an identifying landmark? It can also help you understand confusing parts of an image. For example, if you know there was a recent wildfire, that could explain a patch of forest that is darker than its surrounding areas. 

What you know about a place can also allow you to connect satellite mapping to everyday life. What roads are most traveled on, what parks are popular to play at, or where does the town get food and water from?

Step 7: Try a different scale.

Different types of planes and satellites can capture images at different scales. Try zooming in and zooming out of your image by clicking on the + and - buttons. Repeat Steps 2-4 to practice your image analyzing skills. 

Talk about the differences you can see when you zoom in and zoom out. When would it be important to get a closer look or to get a wider look?

Step 8: Try looking from the same height as the U-2 plane.

The U-2 spy plane took pictures from 70,000 feet or 21 kilometers in the sky. To explore your location at this height, use the zoom in / out buttons until your camera height shows as 21km at the bottom right of your screen. Toggle the 2D / 3D button to see different angles the plane could take photos from. What can you see at this height and at different angles? 

Activity Wrap Up

Great job practicing your investigative skills! 

Many types of experts are interested in studying satellite images, including spies, meteorologists, and archaeologists. They study these images for different reasons, from national security and predicting weather to learning about human history and land use. Whether you’re looking at a satellite image or out the window of a plane, try to look with a different eye to see what you can learn.

Activity

Spot the Difference

Satellites take images of the Earth along the same path, over and over again. This is helpful for recording change over time. 

Take a look at these images. Can you spot the differences? (Hint: You can click on the photo to make it larger.)

After you've looked at them closely, click on the + sign to check if you've spotted the differences and to learn about the changes you're seeing in the images.

Ready to check your observations?

What location is this?  Las Vegas. Nevada. The image on the left was taken in 1972. The image on the right was taken in 45 years later, in 2017. 

What change is visible?  The city of Las Vegas spread out and grew, its population increasing to more than 8 times from 1972.

What tool took this image?  Landsat Satellites run by jointly by the U.S. Geological Survey and NASA.

Side by side satellite photos illustrate the before (green fields) and after (beige polygon of fields) state of Christmas tree harvesting.

Ready to check your observations?

What location is this?  A Christmas tree farm in Ashe County, North Carolina

What change is visible?  The tan area in the image on the right was where Christmas trees were harvested.

What tool took this image?  Aircraft flown by the U.S. Department of Agriculture.

Two satellite images taken 34 years apart show the decline of Lake Powell. The right image, taken by Landsat 8 in 2018, shows how much Lake Powell has decreased in size since 1984, when the left image was taken by Landsat 5.

Ready to check your observations?

What location is this?  Lake Powell in Utah and northern Arizona, a reservoir created by the Glen Canyon Dam on the Colorado River.

What change is visible?  In 1984, Lake Powell had high water levels (the image on the left).  The image on the right was taken in 2018, after a multiple year drought.

What tool took this image?  Landsat Satellites jointly run by the U.S. Geological Survey and NASA.

Who Works to Gather Information?

Meet Major Kris, a pilot of the U-2 aircraft:

Did you know the U-2 spy plane is still flying today? Learn about the evolution of the U-2 from someone who flies it today.

Meet Colonel Buz Carpenter, former pilot of the SR-71:

How did you become a pilot for the SR-71 Blackbird? Buz Carpenter knows. He started flying the SR-71 in 1975 after a week-long interview process that included an astronaut physical. Buz shares what it was like becoming a Blackbird pilot, how pilots used their 580-degree windows to heat up their lunches, and how the aircraft got the nickname Habu.

Did you enjoy these activities?

Sign up for our mailing list to get notified when more activities like this become available, learn about upcoming family days, get reminders to sign up for other family-friendly programs like virtual planetarium shows and story times, and more.

Get Email Reminders